Method for applying fabric to a surface
- Light aircraft
A simplified method for mounting on canvas
Mastering a reliable and effective fabric-covering method is essential to ensuring the durability, tension and quality of aerospace surfaces. This simplified DIATEX fabric-covering and bonding method details each key step, from substrate preparation to the application of finishes, optimising adhesion, fabric tension and final performance. Follow this step-by-step guide to achieve a professional fabric-covering result that meets the technical requirements of the aerospace industry.
Surface preparation before applying fabric
Cleaning, sanding, and degreasing
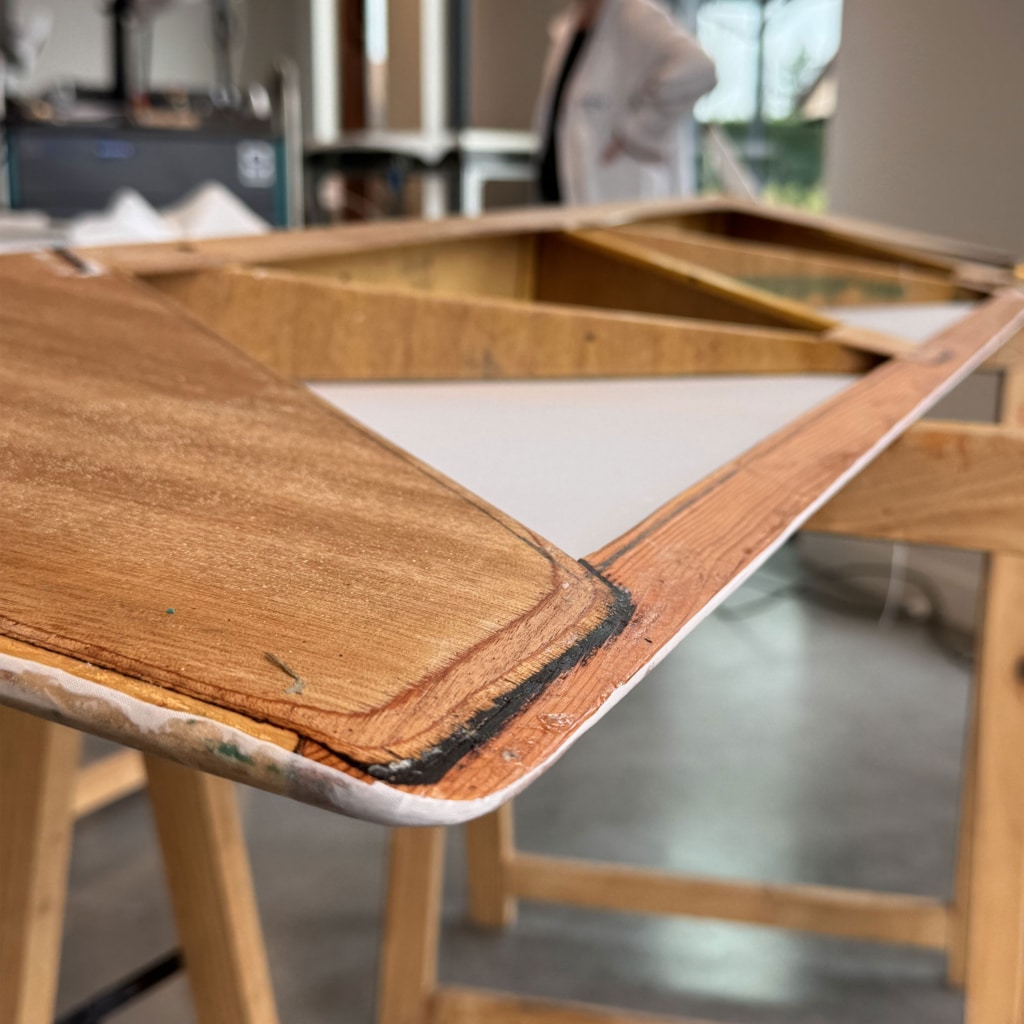
Sand and remove all grease (impurities) on the surfaces to be covered or to be treated by marouflage.
Applying SOLO coating
Create an optimal bond on wood
Apply 2 or 3 layers of neat Solo coating with a brush, until the layers are thick enough to give a shiny or varnished appearance to the wood. Allow an interval of 1 hour between 2 layers. The time for final drying is about one hour.
Positioning the DIATEX fabric
Placement and initial fixation
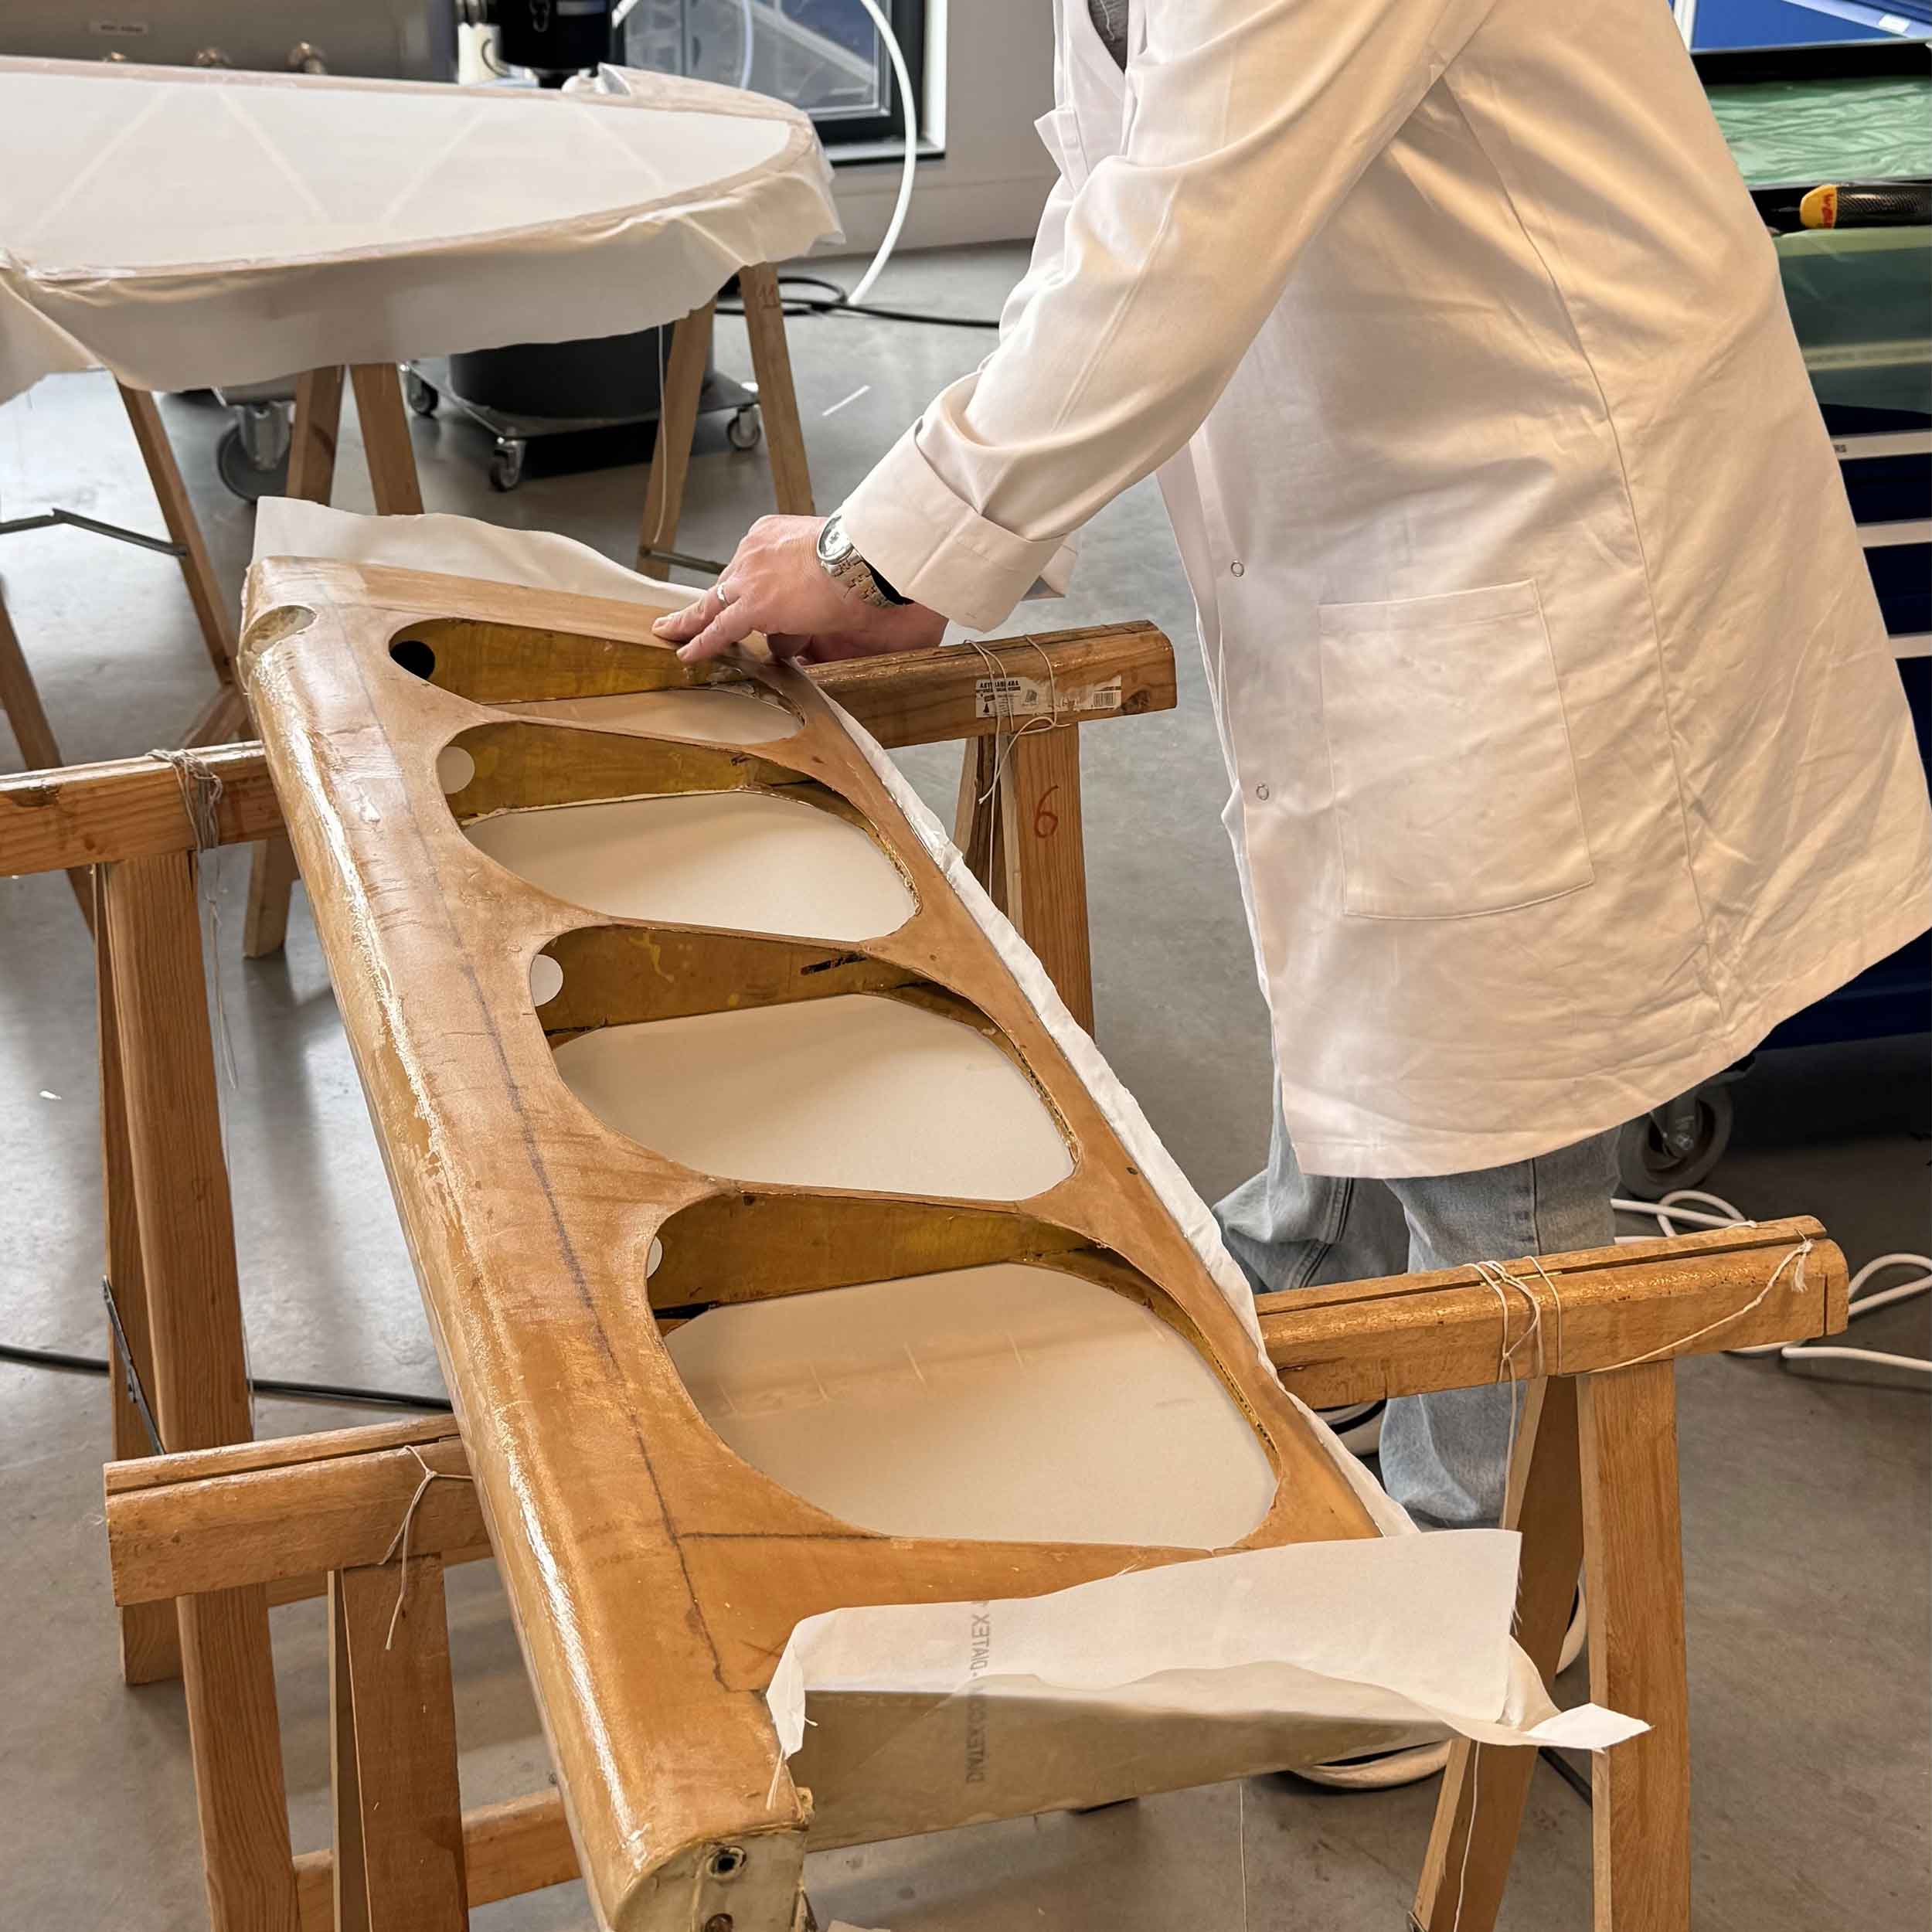
When the coating is dry, position the DIATEX fabric on the surface to be covered and clip it or pin it on its sides.
Mounting the canvas
Coating activation and fabric impregnation
Dab through the fabric on the parts of the DIATEX fabric on a wood substrate. Use a brush soaked in a mixture of Solo coating heavily diluted with Solvent for Solo (50%), (if necessary, you can reposition the fabric at this stage). Apply generously so that the coating penetrates through the fabric. This reactivates the coating previously deposited on the wood. Do not paste fabric with creases; neither heat nor the coatings will eliminate them.
Second impregnation
Enhancing the bond between the fabric and the substrate
Repeat this a second time (but with 25-30% of solvent for the Solo). Then wait until everything is dry.
Edge finishes
Removing the fasteners and gluing the overhangs
Remove the clips or needles. Paste the parts overlapping at the sides with Solo coating (with a maximum of 20% of Solvent for Solo). Cut off part of the fabric if the overlap is too great. Wait for everything to dry.
Heat shrinkage of the fabric
Controlled tension with a canvas stretcher
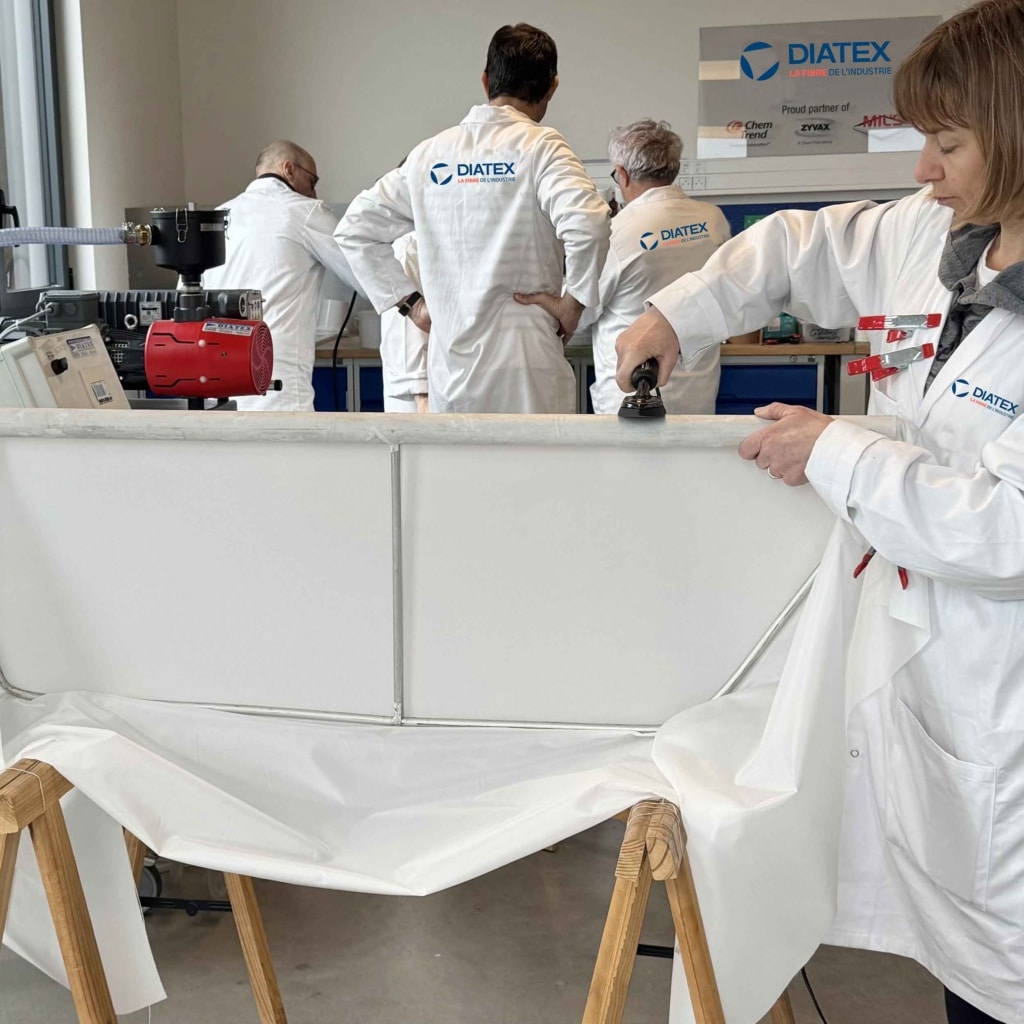
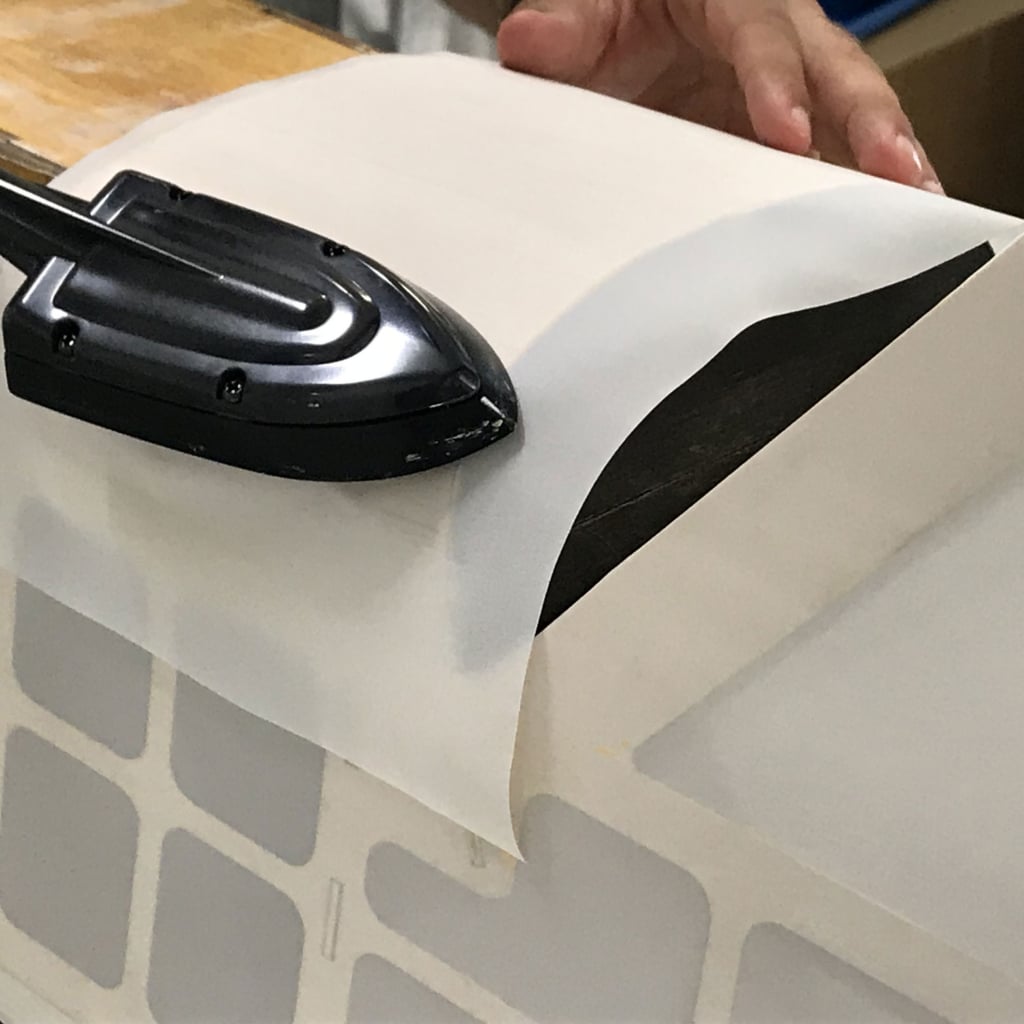
Heat-shrink and tension the canvas with our Digital coating iron. Pass briefly over the whole area and then return to the parts with less tension or with creases. Raise the temperature of the iron little by little, between each pass. You can check it with our covering thermometer. Stop the shrinkage as soon as the fabric appears well tensioned.
Never apply more than 180°C to the fabric.
Sometimes you’ll need to use the tip of the iron to remove stubborn creases.
CAUTION:
Pass over the upper surface and then on the underside: then raise the temperature and start again. Never stay too long on a single face because the shrinkage force of the fabric could distort the wing or other parts.
Applying the first coat of plaster
Leveling the canvas surface
Then apply a first coat of Solo coating (with a maximum 10% of Solvent for Solo), over the whole area covered with fabric. Application with a flat brush or roller (no spray guns).
Creating technical openings
Ventilation and structural Inspection
Insert drainage holes and if necessary create inspection orifices by bonding reinforcement rings for the future inspection plates.
Applying the second coat of plaster
Strengthening and final preparation
Then apply a second coat of Solo coating (with a maximum 10% of solvent for Solo). Allow 1 hour before the next coat.
Applying the third layer of plaster
Optimising protection and voltage
Then apply a third coat of Solo (with maximum 10% of solvent for Solo). The final drying time is 2 to 3 hours.
Sanding the primed surface
Preparation before painting
Once dry, sand the whole of the surface with 180 to 240 grain glass paper.
Final cleaning with thinner
Removal of impurities and optimal preparation
Superficially rub the whole of the area with solvent for Solo to remove all impurities and obtain a good surface condition.
Application of aerospace primers and paints
Finishing and final protection
Then apply the primer and paint system according to our technical documentation.
IMPORTANT: An aerospace paint can cover up to twice the surface area of another, due to its much lower dry extract content and significantly lower final weight.The information provided in this document is for guidance only and is provided free of charge as part of our technical support service. We accept no liability whatsoever in connection with this information.
Note: Using primer and paint systems other than those we recommend may cause the following problems:
- Loss of fabric tension or damage to the fabric (chemical reaction)
- Cracks, excessive weight, delamination of products, etc. The parameters for fibreglass reinforcement are given for a temperature of 21–23°C and a relative humidity of 50–60 per cent.
- If the temperature is higher, the timing can be reduced.
- If it is lower, the timing must be increased.
- If the relative humidity is higher, the curing times must be extended, as the solvents in the tension coatings evaporate more slowly.
- If the relative humidity is lower, they hardly vary.
- The number of layers of adhesive and coating is given based on DIATEX 2000 fabric. This figure should be reduced for use with DIATEX 1500 and 1000.
Our latest news
A comprehensive guide to the mixing ratios and application of industrial paints: hardeners, thinners and plasticisers
How to successfully fabric-cover your airplane with DIACOV 1000: The Diatex professional method
Frequently Asked Questions
What is the ratio of the various components (hardeners, thinners, and plasticisers)?
How do you apply these products?
What are the technical characteristics of primers, paints, and varnishes?
What tools should be used to apply primers and paints?
Why use specialised accessories for stretching canvas?
Fabric lining is not simply a matter of applying a piece of fabric: it is a demanding technical process that requires precision and skill.
Accessories play a key role in:
- Ensuring the mechanical strength of backed surfaces
- Optimizing the quality of the finish (appearance, uniformity, adhesion)
- Ensuring durability in the face of environmental stresses
- Facilitating application and reducing the risk of errors
Fabric reinforcement is a structural step: it stiffens, stabilizes, and maintains the shape of the treated surfaces